
Oracle EM(Enterprise Manager) 13.4 설치 및 구성 - 2(EM 설치)
관련글
Oracle EM(Enterprise Manager) 13.4 설치 및 구성 - 1(Repository DB 설치)
1. GUI를 통한 설치
사용자명/비번이 틀림이라고 에러가 나면서 설치가 항상 실패하게 된다.
하지만 silent 모드로 설치할 때는 문제가 발생하지 않는다.
그래서 사용자 비번에 문제되지 않도록 Repository DB에 패스워드를 변경도 해보고
모두 같은 값으로 설정하고 기타 여러 가지 방법을 동원해 봤지만 거의 에러가 발생한다.
(도중에 한번은 진행이 된적이 있다. software-only 설치 후 여러 방식으로 변경했을 시에
진행된 경우가 존재한다.)
에러 비율이 거의 90% 이상이 발생하여 GUI 설치는 문제가 있어 보인다.
그래서 게시물 후반부에는 silent 모드로 설치하는 법을 나열해 놓았으니 GUI 방식을 따라하지 말고
silent 모드 설치를 따라서 진행하기 바란다.
GUI 방식을 이런 에러가 발생한다는 부분은 보여주기 위해 기술해 본다.
1) GUI 설치 진행
EM Repository 구성을 위한 DB를 생성 완료한 후 다운 받은 설치 파일을 아래와 같이 위치 시킨다.
|
1
2
3
|
mpkwanem@oracle:EMREPO:/home/oracle> mv em13400* /u01/app/
mpkwanem@oracle:EMREPO:/home/oracle> cd /u01/app/
mpkwanem@oracle:EMREPO:/u01/app> chmod +x em13400_linux64.bin
|
cs |
oracle 계정에서 설치를 진행할 예정이며 oracle 계정의 .bash_profile은 아래와 같다.
|
1
2
3
4
5
6
7
8
9
10
11
12
13
14
15
16
17
18
19
20
21
22
23
24
25
26
|
# .bash_profile
# Get the aliases and functions
if [ -f ~/.bashrc ]; then
. ~/.bashrc
fi
# User specific environment and startup programs
stty erase ^H
umask 022
ORACLE_SID=EMREPO
ORACLE_BASE=/u01/app/oracle
ORACLE_HOME=$ORACLE_BASE/product/19.0.0/db_1
LD_LIBRARY_PATH=$ORACLE_HOME/lib
TMP=/tmp
TMPDIR=/tmp
NLS_LANG=korean_korea.UTF8
PATH=$PATH:$HOME/.local/bin:/usr/bin:$HOME/bin:$ORACLE_HOME/bin:$ORACLE_HOME/OPatch
export PATH ORACLE_SID ORACLE_BASE ORACLE_HOME LD_LIBRARY_PATH TMP TMPDIR NLS_LANG
export NLS_LANG=American_America.UTF8
export CV_ASSUME_DISTID=OEL8.1 #for Linux 8 ver
export PS1=`hostname`'@$LOGNAME:$ORACLE_SID:$PWD> '
alias sqlss='sqlplus / as sysdba'
alias ob="cd ${ORACLE_BASE}"
alias oh="cd ${ORACLE_HOME}"
|
cs |
설치 파일을 실행한다.
(이 부분은 설치에 실패하게 된다. 설치 버그 같은 에러가 계속 발생된다.
게시물 아래 부분에 silent 모드 설치 진행 방법을 사용해서 설치할 것이다.
에러 발생 부분은 보여주기 위해서 설명한 부분이다.)
|
1
|
mpkwanem@oracle:EMREPO:/u01/app> ./em13400_linux64.bin
|
cs |
위와 같이 실행하면 아래 캡쳐 이미지의 순서대로 진행하게 된다.
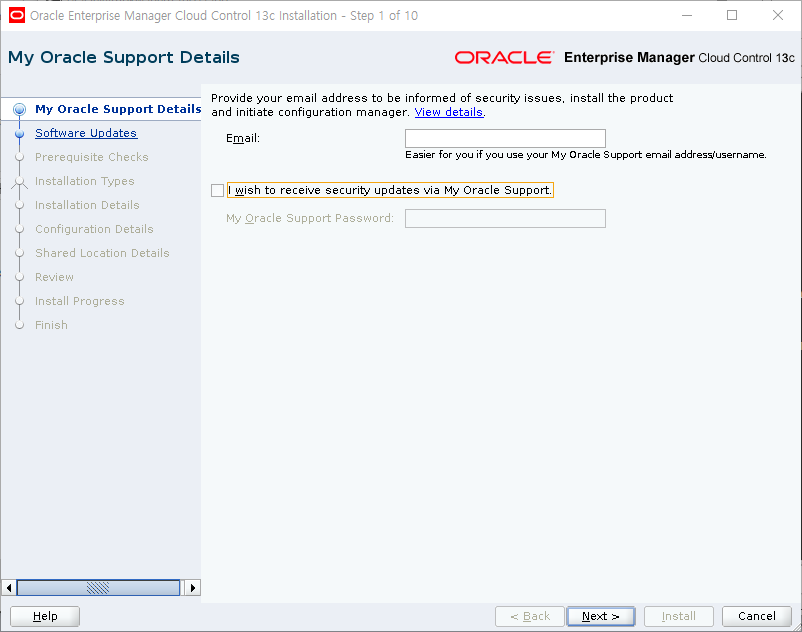
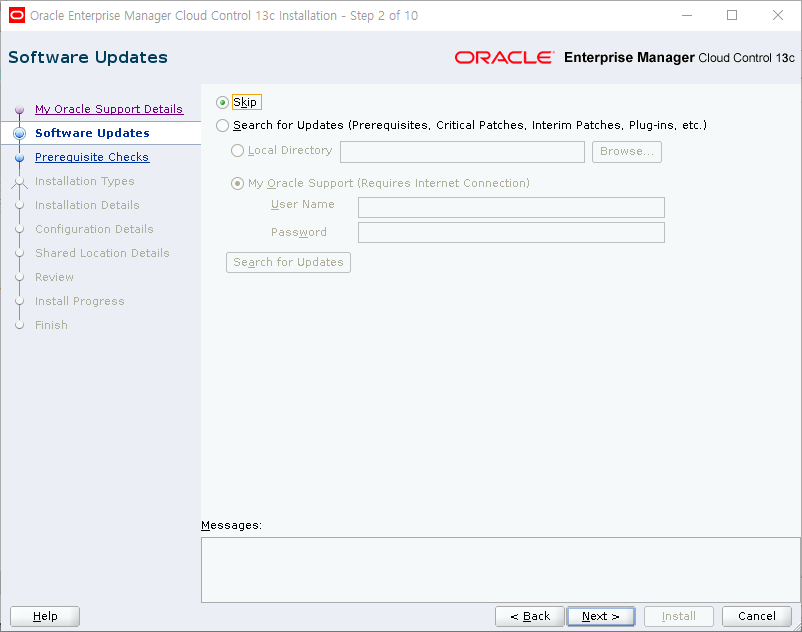
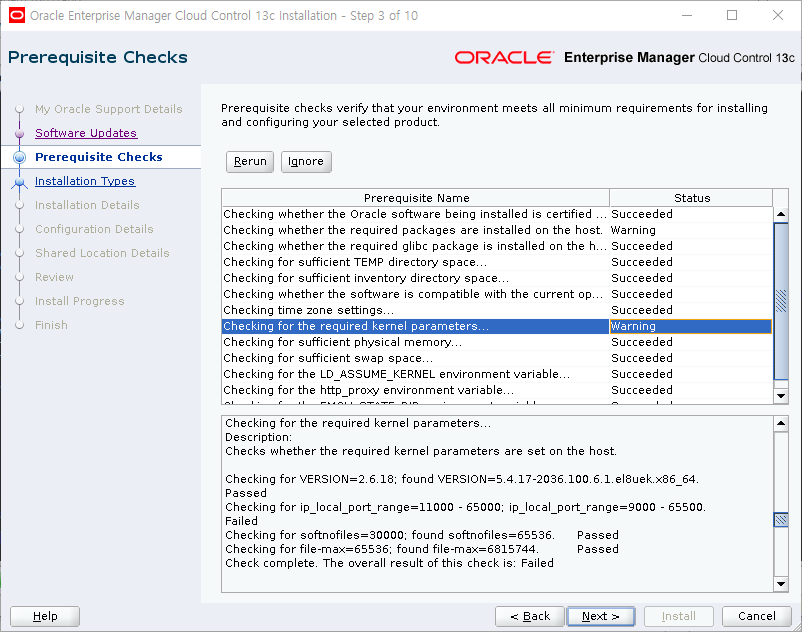
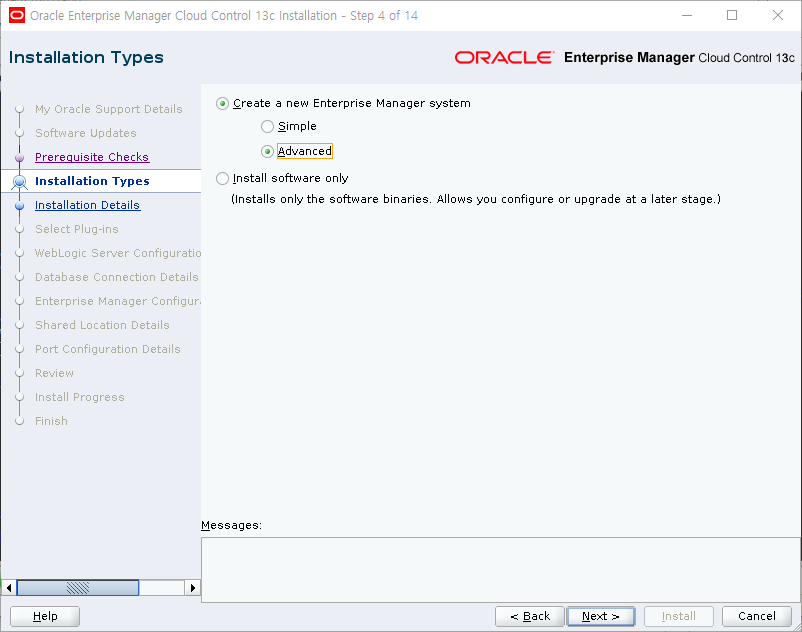
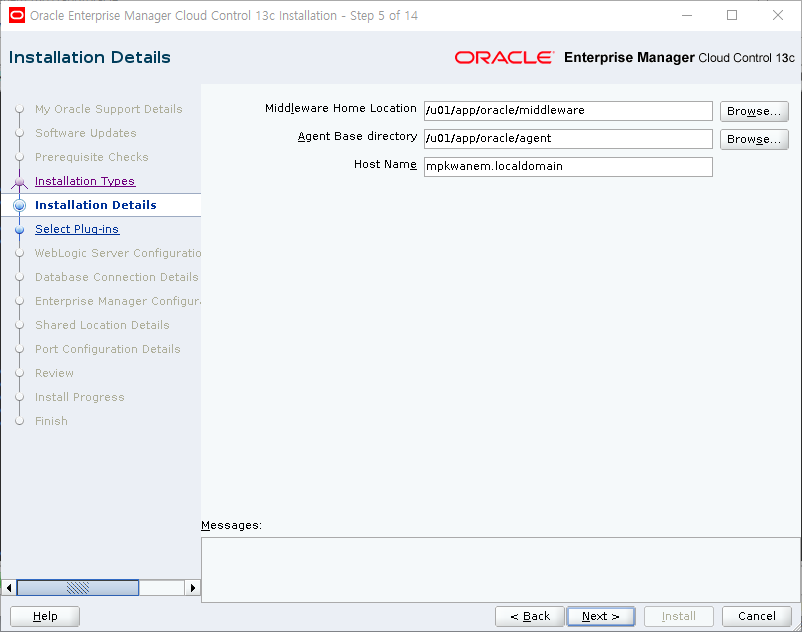
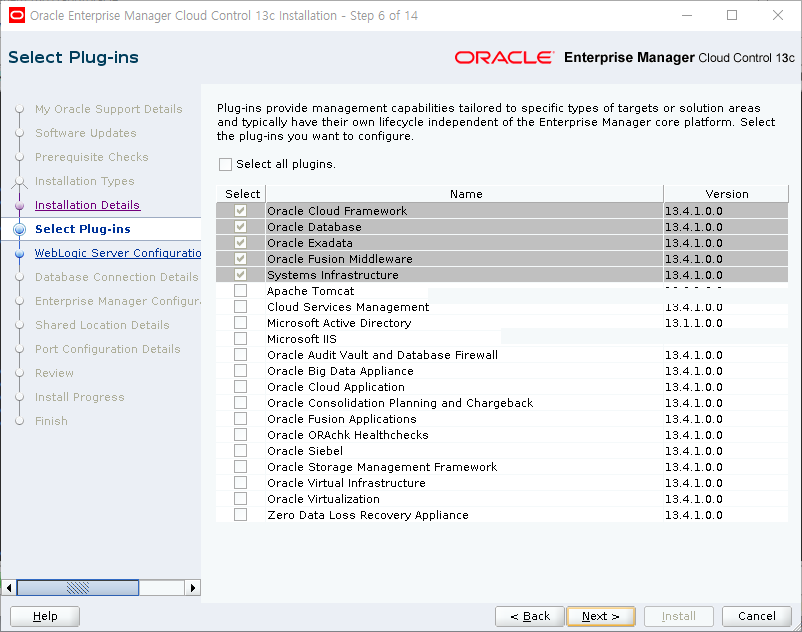
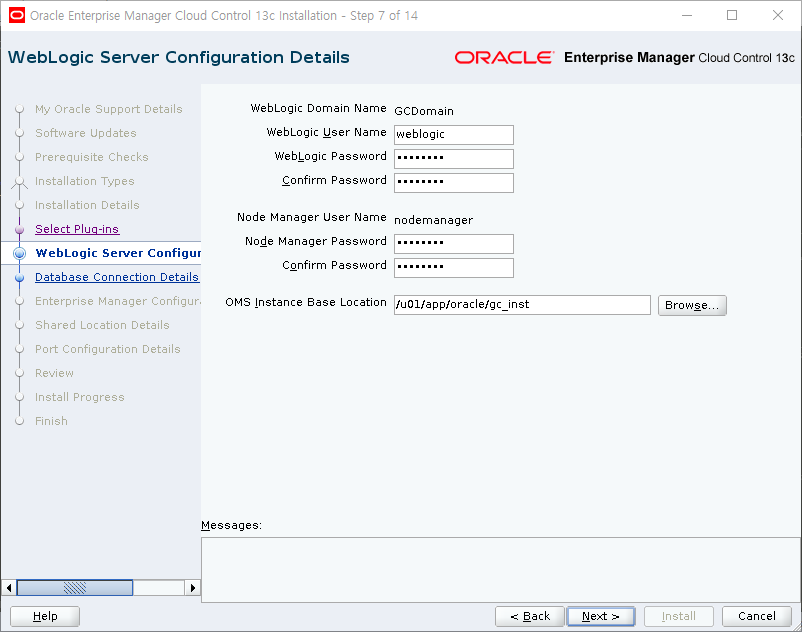
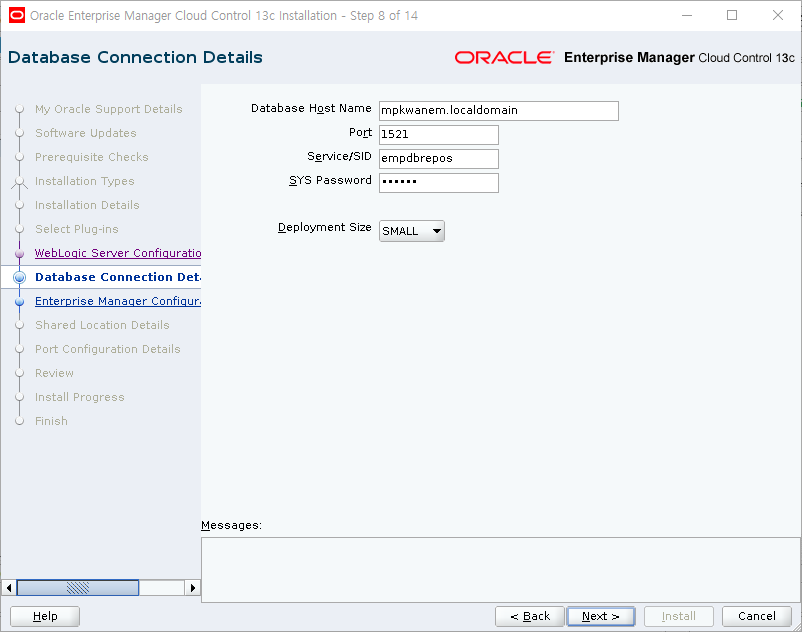
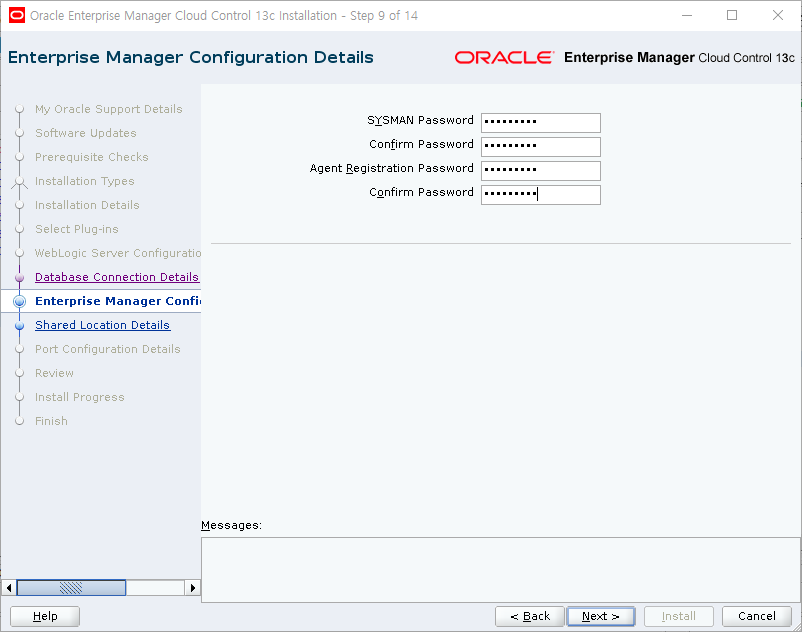
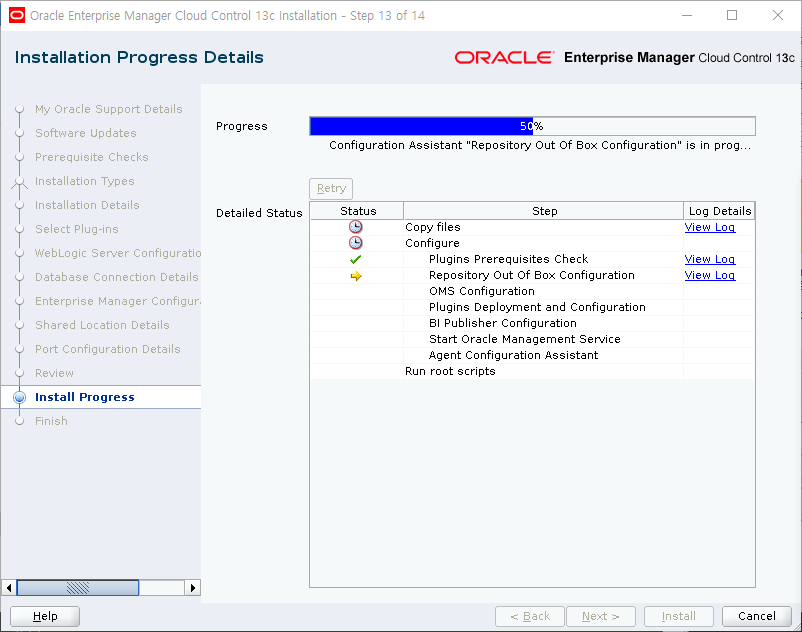
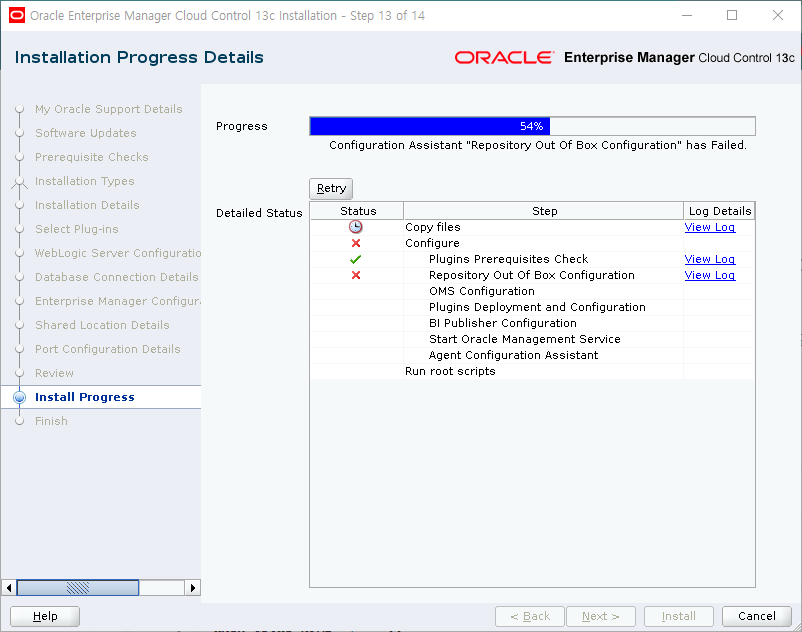
항상 위와 같이 에러가 발생하면서 설치에 실패하게 된다.
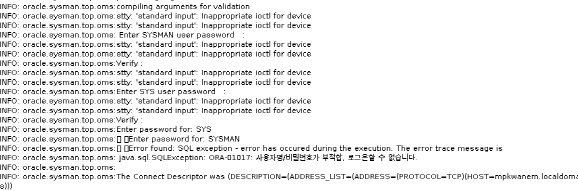
로그 내용을 확인해 보면 사용자와 비밀번호가 부적합해 로그온할 수 없다고 한다.
위에서 언급한대로 에러를 밝혀서 방식을 찾을 수 없어 silent 모드로 진행해 본다.
2) silent 모드로 설치 진행
먼저 필요한 디렉토리를 생성해 놓는다.
|
1
2
3
4
|
mkdir -p /u01/app/oracle/middleware
mkdir -p /u01/app/oracle/agent
mkdir -p /u01/app/oracle/gc_inst
mkdir -p /u01/app/oracle/swlib
|
cs |
resposefile로 사용할 설정 파일을 생성한다.
|
1
2
3
4
5
6
7
8
9
10
11
12
13
14
15
16
17
18
19
20
21
22
23
24
25
26
27
28
29
30
31
32
33
34
35
36
|
vi /tmp/install.rsp
RESPONSEFILE_VERSION=2.2.1.0.0
UNIX_GROUP_NAME=oinstall
INVENTORY_LOCATION=/u01/app/oraInventory
SECURITY_UPDATES_VIA_MYORACLESUPPORT=false
DECLINE_SECURITY_UPDATES=true
INSTALL_UPDATES_SELECTION=skip
ORACLE_MIDDLEWARE_HOME_LOCATION=/u01/app/oracle/middleware
ORACLE_HOSTNAME=mpkwanem.localdomain
AGENT_BASE_DIR=/u01/app/oracle/agent
WLS_ADMIN_SERVER_USERNAME=weblogic
WLS_ADMIN_SERVER_PASSWORD=Oracle76
WLS_ADMIN_SERVER_CONFIRM_PASSWORD=Oracle76
NODE_MANAGER_PASSWORD=Oracle76
NODE_MANAGER_CONFIRM_PASSWORD=Oracle76
ORACLE_INSTANCE_HOME_LOCATION=/u01/app/oracle/gc_inst
CONFIGURE_ORACLE_SOFTWARE_LIBRARY=true
SOFTWARE_LIBRARY_LOCATION=/u01/app/oracle/swlib
DATABASE_HOSTNAME=mpkwanem.localdomain
LISTENER_PORT=1521
SERVICENAME_OR_SID=EMPDBREPOS
SYS_PASSWORD=oracle
SYSMAN_PASSWORD=Oracle76
SYSMAN_CONFIRM_PASSWORD=Oracle76
DEPLOYMENT_SIZE=SMALL
AGENT_REGISTRATION_PASSWORD=Oracle76
AGENT_REGISTRATION_CONFIRM_PASSWORD=Oracle76
PLUGIN_SELECTION={}
b_upgrade=false
EM_INSTALL_TYPE=NOSEED
CONFIGURATION_TYPE=ADVANCED
CONFIGURE_SHARED_LOCATION_BIP=false
MANAGEMENT_TABLESPACE_LOCATION=/oradata/EMREPO/EMPDBREPOS/mgmt.dbf
CONFIGURATION_DATA_TABLESPACE_LOCATION=/oradata/EMREPO/EMPDBREPOS/mgmt_ecm_depot1.dbf
JVM_DIAGNOSTICS_TABLESPACE_LOCATION=/oradata/EMREPO/EMPDBREPOS/mgmt_deepdive.dbf
|
cs |
위 내용 중 테이블스페이스 생성시 사용할 데이터 파일에 대한 부분과 패스워드 부분등 개인이 설정하는 부분을 고쳐서 사용하면 된다.
Resposefile을 생성했다면 이제 설치를 진행해보자
|
1
2
|
unset CLASSPATH
/u01/app/em13400_linux64.bin -silent -responseFile /tmp/install.rsp
|
cs |
설치 마지막에 아래와 같은 내용이 나온다.
|
1
2
3
4
5
6
7
8
9
|
Warning: You must run the following configuration scripts as the "root" user.
/u01/app/oracle/middleware/allroot.sh
To execute the configuration scripts:
1. Open a new terminal window.
2. Login in as "root".
3. Run the scripts.
Successfully installed Enterprise Manager Cloud Control.
Logs successfully copied to /u01/app/oraInventory/logs.
|
cs |
root 계정에서 스크립트를 수행하라는 내용이다.
아래와 같이 root 계정에서 진행해 주면 된다.
|
1
|
mpkwanem@root:/root> /u01/app/oracle/middleware/allroot.sh
|
cs |
구성 설정을 위해 아래와 같이 responsefile을 만들고 ConfigureGC.sh 파일을 실행한다.
|
1
2
3
4
5
6
7
8
9
10
11
12
13
14
15
16
17
18
19
20
21
22
23
24
25
26
27
28
29
30
31
32
33
34
35
36
|
vi /tmp/config.rsp
RESPONSEFILE_VERSION=2.2.1.0.0
UNIX_GROUP_NAME=oinstall
INVENTORY_LOCATION=/u01/app/oraInventory
SECURITY_UPDATES_VIA_MYORACLESUPPORT=false
DECLINE_SECURITY_UPDATES=true
INSTALL_UPDATES_SELECTION=skip
ORACLE_MIDDLEWARE_HOME_LOCATION=/u01/app/oracle/middleware
ORACLE_HOSTNAME=mpkwanem.localdomain
AGENT_BASE_DIR=/u01/app/oracle/agent
WLS_ADMIN_SERVER_USERNAME=weblogic
WLS_ADMIN_SERVER_PASSWORD=Oracle76
WLS_ADMIN_SERVER_CONFIRM_PASSWORD=Oracle76
NODE_MANAGER_PASSWORD=Oracle76
NODE_MANAGER_CONFIRM_PASSWORD=Oracle76
ORACLE_INSTANCE_HOME_LOCATION=/u01/app/oracle/gc_inst
CONFIGURE_ORACLE_SOFTWARE_LIBRARY=true
SOFTWARE_LIBRARY_LOCATION=/u01/app/oracle/swlib
DATABASE_HOSTNAME=mpkwanem.localdomain
LISTENER_PORT=1521
SERVICENAME_OR_SID=EMPDBREPOS
SYS_PASSWORD=oracle
SYSMAN_PASSWORD=Oracle76
SYSMAN_CONFIRM_PASSWORD=Oracle76
DEPLOYMENT_SIZE=SMALL
AGENT_REGISTRATION_PASSWORD=Oracle76
AGENT_REGISTRATION_CONFIRM_PASSWORD=Oracle76
PLUGIN_SELECTION={}
b_upgrade=false
EM_INSTALL_TYPE=NOSEED
CONFIGURATION_TYPE=ADVANCED
CONFIGURE_SHARED_LOCATION_BIP=false
MANAGEMENT_TABLESPACE_LOCATION=/oradata/EMREPO/EMPDBREPOS/mgmt.dbf
CONFIGURATION_DATA_TABLESPACE_LOCATION=/oradata/EMREPO/EMPDBREPOS/mgmt_ecm_depot1.dbf
JVM_DIAGNOSTICS_TABLESPACE_LOCATION=/oradata/EMREPO/EMPDBREPOS/mgmt_deepdive.dbf
|
cs |
responsefile을 생성했다면 아래와 같이 실행하면 된다.
|
1
2
|
mpkwanem@oracle:EMREPO:/u01/app/oracle> unset CLASSPATH
mpkwanem@oracle:EMREPO:/u01/app> /u01/app/oracle/middleware/sysman/install/ConfigureGC.sh -silent -responseFile /tmp/config.rsp
|
cs |
마지막에 아래와 같은 내용이 나오면서 구성을 마치게 된다.
|
1
2
3
4
5
6
7
8
9
10
11
12
13
14
15
16
17
18
19
20
21
22
23
24
25
26
27
28
|
This information is also available at:
/u01/app/oracle/middleware/install/setupinfo.txt
See the following for information pertaining to your Enterprise Manager installation:
Use the following URL to access:
1. Enterprise Manager Cloud Control URL: https://mpkwanem.localdomain:7803/em
2. Admin Server URL: https://mpkwanem.localdomain:7102/console
3. BI Publisher URL: https://mpkwanem.localdomain:9803/xmlpserver/servlet/home
The following details need to be provided while installing an additional OMS:
1. Admin Server Host Name: mpkwanem.localdomain
2. Admin Server Port: 7102
You can find the details on ports used by this deployment at : /u01/app/oracle/middleware/install/portlist.ini
NOTE:
An encryption key has been generated to encrypt sensitive data in the Management Repository. If this key is lost, all encrypted data in the Repository becomes unusable.
A backup of the OMS configuration is available in /u01/app/oracle/gc_inst/em/EMGC_OMS1/sysman/backup on host mpkwanem.localdomain. See Cloud Control Administrators Guide for details on how to back up and recover an OMS.
NOTE: This backup is valid only for the initial OMS configuration. For example, it will not reflect plug-ins installed later, topology changes like the addition of a load balancer, or changes to other properties made using emctl or emcli. Backups should be created on a regular basis to ensure they capture the current OMS configuration. Use the following command to backup the OMS configuration:
/u01/app/oracle/middleware/bin/emctl exportconfig oms -dir <backup dir>
Prompt for the allroot.sh
|
cs |
위의 접속 정보를 통해 EM에 접속하면 된다.
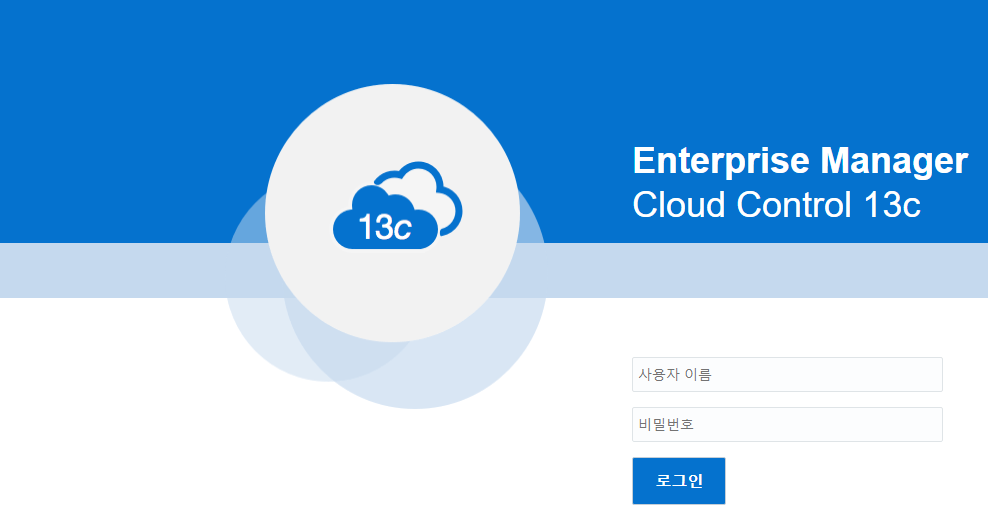
이렇게 설치가 종료된다.
GUI 방식을 고집하다 너무 시간을 소비하게 되었다. 에러메세지가 간단해서 로그를 확인 후 내용을 추적하다 보면
금방 해결해서 진행할 수 있을 거라 생각하고 진행을 했더니 생각과는 다르게 해결할 실마리를 찾지 못해
계속해서 처음부터 진행하게 되서 오래 걸렸다
이후에는 설치 후 클라이언트를 설치와 EM에 대한 내용을 살펴보는 내용을 작성할 에정이다.